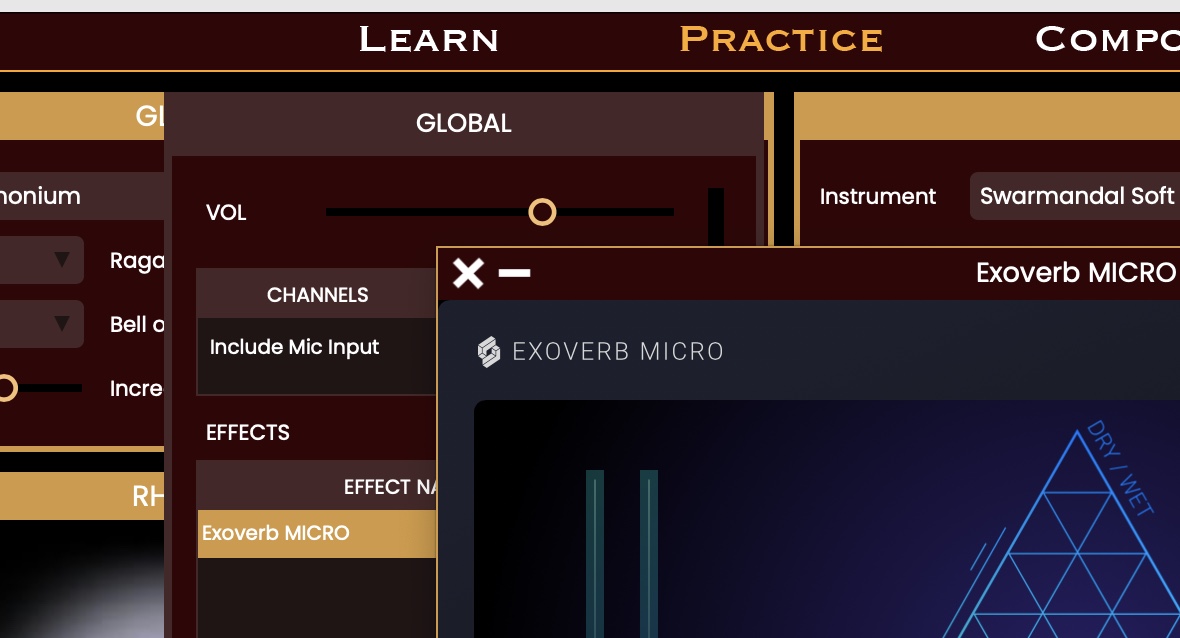
On Practice section, effects can be added on the popup pane that appears when your mose moves over the small loudspeaker icon, on the top right corner of each subpane. You will see there an EFFECTS table, with buttons underneath to add, remove and reorder plugins.
Before you proceed, you must ensure that you have scanned your disk for existing/downloaded effects plugins.
After that, you can click on the + button below the table and you should see a popup menu appear with the list of available effects, like this:

Select the effect of your choice, and a line for it will be added to the table.
To remove an audio effect that was added, just select it and press the "-" button.
If you have more than one effect added, it sometimes make sense to have them process the audio output in a specific order. In that case you can change the position of your audio effects by selecting one and pressing the up and down arrows below the table.
In general audio effects have a user interface with various parameters that can be adjusted as per your needs. To open (respectively close) the plugin's editor, just double-click on its name in the list. You can then make any changes in real time from there.
At times you may want to temporarily skip an effect in your list. You can do that by a simple click on the Bypass button:

This will prevent the effect from altering the audio (and consuming CPU) while retaining your custom settings for it, so that it can be reactivated as before by simply unchecking the Bypass button.
Effects may use significant CPU, so use them wisely. For instance, unless you really need to change the audio of a specific instrument, always prefer to add the effects to the GLOBAL output. This way the process is done only once, for the mixed audio output.